Tuesday, February 7, 2012

Ruffle T-shirt Dress

My sweet baby girl is 3 yrs. old but wears a girls size 7. Clothes these days try to make the kids look older than they are. However, I still want my 3 yr. old to look 3.
This past weekend, I had the challenge of finding an inexpensive, cute little-girl dress to fit her. After looking at seriously 5 different stores, and finding 1 that I liked, that was $35, I just gave up and bought this clearance T-shirt for $1.50. Then I headed over to hobby lobby, got 3 coordinating fabrics, and some tulle. (I got 1/4 of a yd. of 2 fabrics and 1/3 of a yd. of 1(a bit extra for a bow I thought) and then 1 yd. of the tulle. This came to $4.
Here's what I did....

I measured where I wanted the skirt to start on my little girl, added 1 inch, then cut off the rest.


I then took some extra white cotton I had. It was only 9 inches by the width of the fabric. I hemmed one edge, then started on the ruffles. As I measured, they had given me a bit of room to play with, so I had 10 inches and cut 2 strips 5 inches by the width of the fabric. I did this with all 3 coordinating fabrics, and set the extra aside. Then I sewed the strips together, hemmed and ruffled. I repeated this on the other 2 fabrics too. I wanted a full skirt but didn't want to spend the $$ for it, I cut the tulle at 5 inches by the width just to give it fluff. I ruffled 3 strips together and repeated 2 more times.


Then I laid out my white cotton and started with a row of tulle just an inch above the hem. I continued to add tulle then fabric until I got to the last row of fabric. It looked like this.


Then with right sides together I sewed the cotton edges together, leaving out the ruffles. (I sewed these individually after I sewed it on the T-shirt. Then you couldn't tell where the seam was.) I then sewed the skirt part onto the T-shirt. Just the extra part at the top was used. I wanted it to lay nice, and the ruffles would have been bulky in the seam. You can see it in the 2nd picture above.


Once sewn, it looked like this.


Then I needed to cover up the ruffles seam. I added a strip of ribbon, attaching it to the just below the seam of the ruffles and the T-shirt. It looked like this.


It still didn't look right, so I cut the sleeves off at the elbow and used the extra material I had reserved for a bow and added a bell sleeve. I also added a bow in front for "extra beauty"!! And I used some of the extra ribbon around the waist to make a bow and this was the end result.


A very happy little girl (and Mom too!!) Dad loved it too, especially cause the final cost was $7. Give it a try if you have any questions, feel free to ask. I know my instructions and pictures aren't the best, I should have waited for better lighting, but I am learning!!

Until next time....

Tuesday, January 24, 2012

Jean Blanket...6 years in the making!!


Okay...so I know I have been lazy!! I have been doing things, like this......
And I made this for my little girl!!


I made a few of these...


some of these...


And a LOT of these...


See so I did do something!! :)

Okay but for the post at hand, I wanted to share a project that begin a while ago, when my husband and I found ourselves with jeans that had so many holes in them they were near unrepairable, or had been repaired so many times, it wasn't worth it anymore. I decided to collect all the jeans in this sad state and make a jean blanket out of them!! Well, I got them cut into 9 inch squares, then they were boxed up and put away and never given a second thought. Three moves later, my husband dug them up, and that began this project....here's what I did, I hope you see it was super easy and it's already been loved by everyone!

To start I cut jeans and baby flannel into 9 inch squares.


The jeans were fun to decide if I would use a pocket, or a seam to make it more interesting!

Then I put wrong sides together....

And made rows of 8 keeping all the seams on the jean side, for fraying later...


Then I worked my way sewing each row onto the next until I ended up with this...


Sorry the kids were so excited seeing the scraps of things I had made for them in the quilt they insisted on being in the pictures. So all seams are on the back and it looks like this....


Again sorry for the crazy picture, my family thought they were hilarious!! :)
But you can see all the seams on the jean side. Then all that was left was to clip all the seams and sides of the blanket (oh I did sew around the edge of the blanket in about an inch). Now to fray the edges all it needs is a good wash and dry, however, this is a mildly heavy blanket, and I didn't want to dry it several times in my dryer just for the "look" of it. My suggestion, take it to a laundry-mat. The industrial dryers will do a great job, and it won't wear out your one at home!!

Think about it, I hope you give this a try, it is super easy and no one will ever notice if the seams aren't quite straight, they will just love it, like we love ours!!

Until next time.....

Thursday, December 22, 2011

Alternative to the Crayon Roll


The Crayon Roll is a great crayon holding device!!

I love it, but I kept thinking, I could make it better, this is what I came up with....

It is a book that ties to close, but when you open it.....


You have everything you need for quiet, creative fun!


16 crayons on one side...


A tablet of paper for coloring or writing on the other.


And the tablet can be removed/replaced when it runs out. And you can also use the pocket to put your best work in to save until you get home!!

Well, that's it, my great creation for the day!!
Hope you enjoyed!!

Please be kind and remember that this is my creation. Although copying is the greatest form of flattery, please do not reproduce or sell this.
Thanks.

Friday, December 9, 2011

Christmas Goodies....

I love Christmas goodies. Actually I love all goodies, but Christmas is when I get them the most!! YUM! Well, like some of you may do, I bake treats and take them around to the neighbors. This year I have been wanting to mix it up a bit and do some new recipes along with the old and trusted favorites.


I first started with the divinity. Growing up, I had a neighbor that made the best melt in your mouth delicious divinity. Last year I finally found a recipe that is just that good. But as I was making it, my kitchen aid, (which I think the motor is going out in), started to struggle. I figured I would save the mixer and cut the last 2 minutes of whipping the mixture.....BAD idea.
However what I ended up with was absolutely delicious homemade marshmallows. Who knew? If you have ever had homemade marshmallow, you know what I am talking about!! SO YUMMY! So I decided that I would dip them into chocolate and count it as my new recipe to add to the neighbor gifts!!


Just in case your mouth is watering thinking of either homemade marshmallows, or divinity, I'll post the recipe.

Perfect Divinity or Marshmallow
2 ½ C. sugar
½ C. corn syrup
½ C. water
¼ tsp. salt
2 egg whites
1 tsp. vanilla
In a 2 quart saucepan, combine sugar, corn syrup, water, and salt. Cook to hardball stage, (260 degrees), stirring only until sugar dissolves. Meanwhile, as temperature of syrup reaches 250 degrees, beat egg whites till stiff peaks form. When syrup reaches 260 degrees, very gradually add the syrup to the egg whites, while beating at high speed with electric mixer. Add vanilla and beat. For Marshmallow, beat 1-3 to minutes. For divinity, beat 5-6 minutes (it will start to loose its shine). Quickly drop candy by the teaspoon full onto wax paper, swirling the top of each piece. Let cool.


Enjoy!!

Thursday, November 24, 2011

QUILLOWS

Okay....so what have I been working on lately...(besides the other things).......QUILLOWS!!!


For those of you who don't know what quillows are?? They are quilts that fold up into pillows.


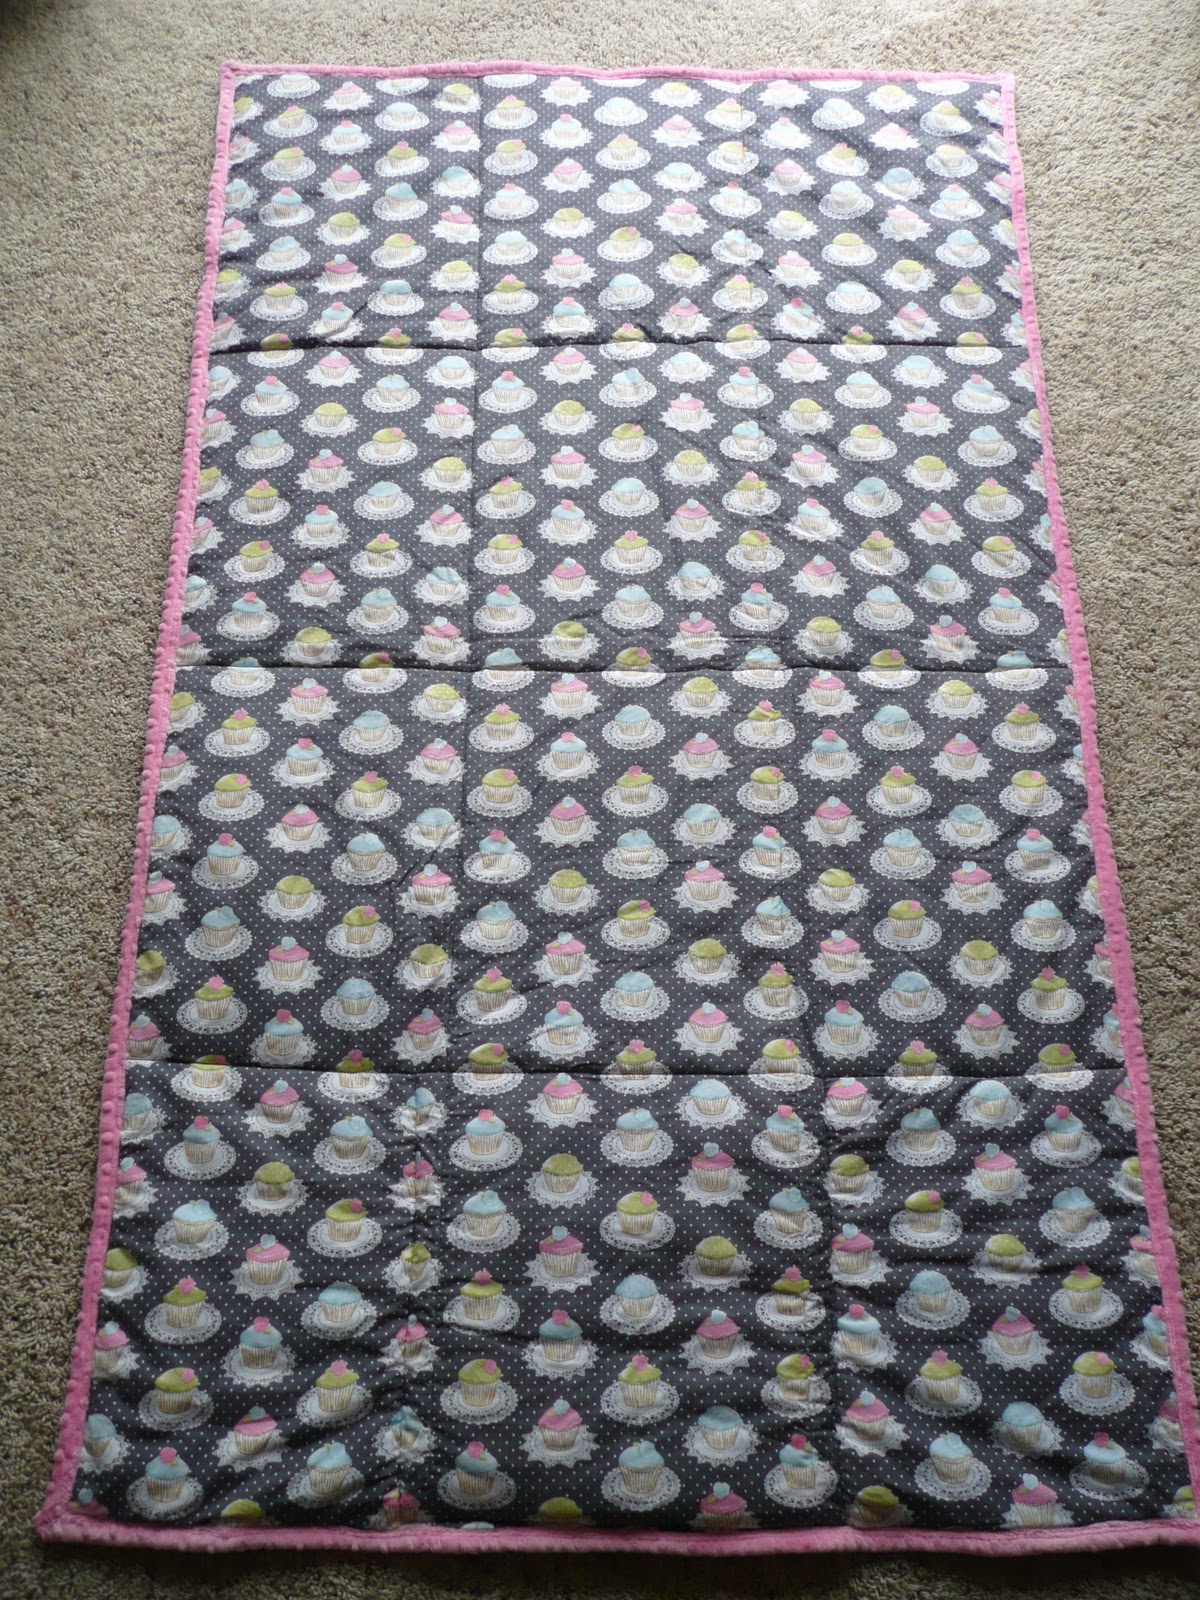
I recently made some for a friend to give to her daughters for Christmas.


I think they turned out pretty well...what do you think?

Until next time....

Wednesday, November 9, 2011

Thanksgiving Decor

As the weather here continues to be cold, I find myself wanting to become a hermit and just stay inside. And as I take a good look at my home, I see a GREAT lack of Thanksgiving decorations in comparison to my Halloween and Christmas ones.


Let's face it, at most major retailers, it's Christmas. Now some boutiques and craft stores do have a small selection of Thanksgiving decor, but they are just so expensive!! As a solution to both problems, I decided that I would do some activities with my kids, and by myself, to make some Thanksgiving items. Now I am not, or do I ever claim to be super cutesy and crafty, but this is what I came up with a couple of years ago.....

And because I love it when things can serve 2 functions, I did this for the back...


We haven't gotten anything new done this year, due to my sewing projects I am working on...I'll post those later, but I have great intention's!!

Like these from Martha Stewart...


We will definitely be trying this from Family Fun!!
I'll post pictures when they are done.

I hope that you can look into trying some of these fun ideas, or doing some of your own, because spending time with our family's and remembering why we are so grateful to have them is what Thanksgiving is all about!!


Tuesday, November 1, 2011

Oh How I Love Halloween.....

So with Halloween over now, I thought I would recap of all the fun things I did.... 


We did the fun sugar cookie cutouts and pumpkin faced apple pie.


We carved amazing pumpkins....thanks to my husbands artistic talent, we didn't have to use stencils or anything! We made fun Halloween costumes....... we did it all!!


Well, now it's over, I should be ready for winter right?? Well, I am not. I still need my fall fix, so today I decided to share a couple of my favorite fall dessert/dinner recipes.

Apple Crisp
4 medium tart apples, sliced
¾ c. packed brown sugar
½ c. flour
½ c. old fashioned oats
1/3 c. butter or margarine, softened
¾ tsp. ground cinnamon
¾ tsp. ground nutmeg
Ice cream (optional) Vanilla or French Vanilla is best

Pre-heat oven to 375 degrees. Grease 8-inch square pan or 8-inch round pie plate with shortening or cooking spray. Spread apples in pan. In medium bowl, stir remaining ingredients, except ice cream, until well mixed; sprinkle over apples. Bake 30 minutes until golden brown. Serve warm with ice cream.
(Recipe via my personal creations)


Pumpkin Roll
3 eggs                    1 C. sugar
2/3 C. pumpkin       ¾ C. flour
1 tsp. cinnamon                1 tsp. baking soda
Combine ingredients and pour into a jelly roll pan lined with wax paper, or parchment paper. Bake 15 minutes at 350. Turn onto a cheese cloth, or towel dashed with powdered sugar, while warm remove paper. Roll into log and let cool.
Mix filling ingredients:    
1 (8oz) cream cheese         ½ stick butter or margarine
1 C. powdered sugar                           1 tsp. vanilla
Unroll pumpkin roll, spread filling mixture and roll-up again. Chill and dust with powdered sugar before serving.
(Recipe from my Mother-in-law)


Creamy Baked Ziti
3 C. uncooked penne pasta
1 jar favorite spaghetti sauce
1 can diced tomatoes, undrained
3 oz. cream cheese, cubed
8 oz. sour cream
Mozzarella cheese
Parmesan cheese
Cook pasta as directed, drain. In saucepan, heat marinara, tomatoes and cream cheese until well blended. Add pasta, pour ½ mixture in 9X13 baking dish. Spread sour cream over mixture, sprinkle with cheeses, then cover with remaining pasta mixture. Top with remaining cheese and bake at 375 for 20 minutes.
(Recipe from Kraft Food and Family Magazine)

Well, I hope you are able to try these recipe and let me know how you like them...cause I sure LOVE them!!!